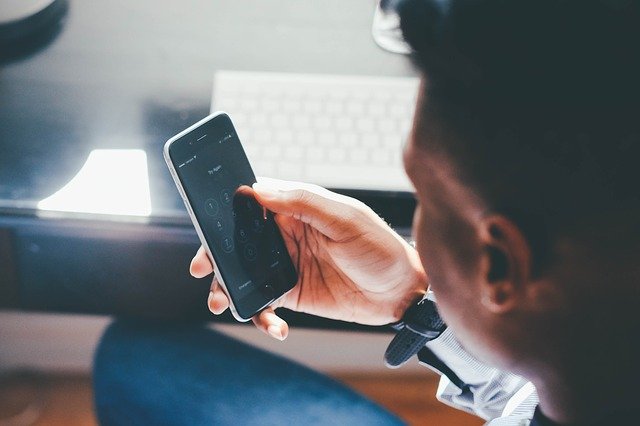
Toen we nog geen internet hadden: hoe vond je een telefoonnummer?
Inmiddels is een generatie opgegroeid die niet beter weet of internet heeft altijd bestaan. Maar hoe deden we het vroeger, toen zo’n bakelieten telefoon met draaischijf het enige communicatiemiddel was? Was een telefoonnummer zoeken toen niet heel lastig?
Jaarlijks op de mat: de telefoongids
Misschien kun je nog filmpjes vinden van wedstrijden ‘telefoonboeken scheuren’. Dat was echt een opgave, want die dingen waren loodzwaar en superdik. Toch lukte het sommigen. Een telefoonnummer zoeken deed je simpelweg in die gids, die jaarlijks ge-update door de brievenbus kwam. In plaats van mobieltjes hadden mensen een vast telefoonnummer: ‘geen gehoor’ was simpelweg jammer.
De Gouden Gids en 008
Ook de Gouden Gids, een telefoongids maar dan voor bedrijven, kreeg je gratis toegestuurd. Het is nu een iconisch item geworden, een relikwie uit vervlogen tijden. Maar toen was het zo’n vondst dat de makers het zich konden veroorloven om de eerste shirtsponsor van voetbalclub Feyenoord ooit te worden! Overigens staan zowel de Gouden Gids als de Telefoongids tegenwoordig online, dus kun je daar een telefoonnummer zoeken. Er was, tot slot, ook een gratis nummer met een telefoniste die je het nummer voorlas: 008.

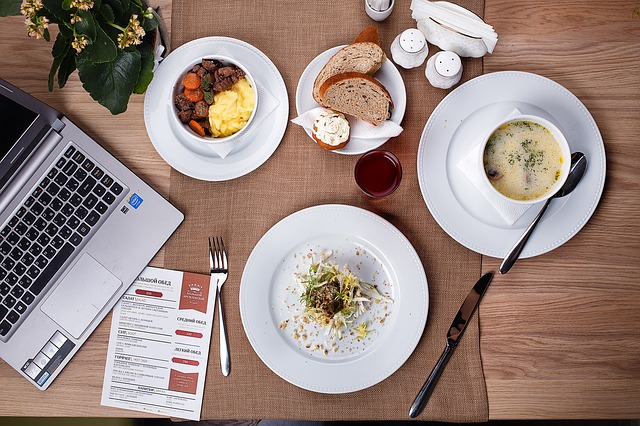
Achter de computer werken? Neem je tijd voor de lunch!
Bijna 3 miljoen mensen hebben een kantoorbaan in Nederland. Daarnaast zijn er veel ondernemers die van huis uit geld verdienen achter de computer of op de laptop. Ze beseffen nog te weinig dat ze regelmatig schermpauzes moeten inlassen. Het kan niet vaak genoeg gezegd worden: neem de tijd voor je lunch!
Langere pauzes
In Zuid-Europa is het heel normaal dat vooral mensen met een kantoorbaan tussen één en half vier uur even niet bereikbaar zijn: dan zitten ze uitgebreid te lunchen en doen soms even een powernap. Daarna werken ze wel door tot vroeg in de avond. Het is een andere opvatting van een werkdag zoals de negen-tot-vijf-cultuur die wij hanteren.
Broodje naar binnen proppen terwijl je werkt
In deze landen kunnen mensen zich niet voorstellen dan wij vaak doorwerken terwijl we gedachteloos onze bammetjes naar binnen proppen. Maar minimaal anderhalf uur afstand nemen van het werk is zo’n gek idee niet. Dan maar wat later thuis. Voorlopig ben je één van de weinigen die dat zullen doen en loop je mooi de file mis. En wat doe je verder nou helemaal tussen vijf en zeven uur in de namiddag?
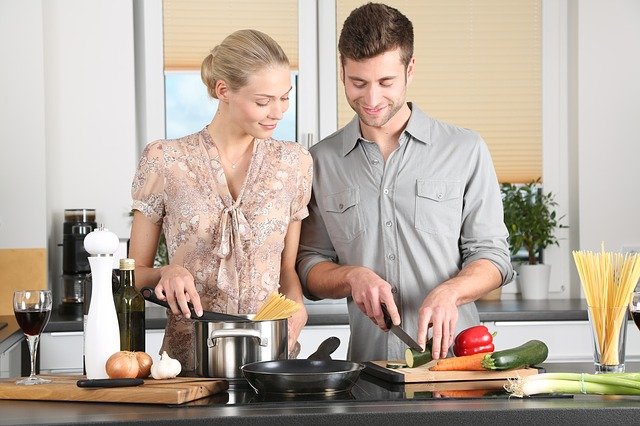
Wil je vaker vegan eten? Bekijk deze video’s van Donnie!
De kikkererwten zijn een graag geziene gasten in de vegetarische en veganistische keuken. Je kunt er heerlijke gerechten mee bereiden, zoals falafel en salades, en het vocht kun je gebruiken ter vervanging van eiwitten. Iemand die er een sport van heeft gemaakt om een veganistische variant van een populaire gerecht te maken is rapper Donnie. Eind augustus kondigde KRO-NCRV het online programma Donnie aan de Kook aan. In dit programma bereidt hij samen met bekende Nederlanders hun favoriete gerecht, maar dan helemaal vegan. Zo maakt Donnie met Frans Bauer een veganistische foe yong hai en schotelt hij vlogger Kalvijn een smakelijke burger zonder dierlijke ingrediënten voor. De kikkererwten vliegen je om de oren, maar de meeste BN’ers zijn blij verrast door het resultaat.
Donnie aan de Kook kijken?
Dit programma zou eigenlijk alleen op het Youtube-kanaal van NPO3 verschijnen, maar werd toch ook uitgezonden op televisie. Op Youtube wordt het programma behoorlijk goed bekeken. En natuurlijk is de aflevering met de sympathieke Frans Bauer het populairst. Deze video is al 235.000 keer gestreamd. Je kunt de zes afleveringen van Donnie aan de Kook terugkijken op Youtube of via NPO Start.
Is het wel slim om medische informatie op internet op te zoeken?
Stel, je hebt al weken last van vage steken in je zij. Wat doe je? Ga je informatie op internet opzoeken of maak je een afspraak met de huisarts? Veel mensen kiezen ervoor om eerst het internet op te duiken, bijvoorbeeld om te checken of het nu wel nodig is om een bezoekje aan de huisartsenpraktijk te brengen. Maar de vraag is of dit wel zo verstandig is, want niet alle informatie op internet is even betrouwbaar. Zo kan pijn in je zij duiden op problemen met je milt, galblaas of nieren. Maar wat er nu precies aan de hand is, dat kan echt alleen een arts vaststellen.
Welke medische informatie kun je wel veilig opzoeken op internet?
Internet is wel handig als je bijvoorbeeld de bijsluiter van een bepaald medicijn zoals metoprolol bent kwijtgeraakt. Op Apotheek.nl vind je allerlei goede informatie over medicijnen. Ook kan het fijn zijn om bepaalde informatie die een arts je mondeling medegedeeld heeft nog eens na te lezen, maar zorg dan wel dat je dit op een betrouwbare website doet. Een voorbeeld hiervan is Thuisarts.nl, een website van het Nederlands Huisartsen Genootschap.
Teleurstelling voorkomen: als ambitieuze digital nomad moet je eerst op proefreis
Je rugzakje inpakken inclusief je laptop, het eerste het beste vliegtuig pakken en al geld verdienend via internet de wijde wereld intrekken: het leven van een digital nomad klinkt zo idyllisch en makkelijk. Maar ga het vooral eerst een maandje proberen.
Heimwee en andere obstakels
Met je laptop, je niet al te volle rugzak en zaken als je paspoort en een ANWB reisverzekering wil je het liefst zo snel mogelijk op pad. Maar alleen je digitale klusjes gaan je niet redden: je bent op jezelf aangewezen en moet goed beseffen hoe zwaar dit kan zijn. Dingen als heimwee, angst, tegenvallende inkomsten of de taal kunnen je in de weg gaan staan.
Eerst even aftasten
Geduld is een schone zaak. Natuurlijk zijn er digital nomads die cold turkey zijn begonnen, maar bij de meesten ging het niet zonder slag of stoot. Zeker wanneer je met je eigen kampeerbusje op pad gaat. Roep niet dat je een jaar of langer weg zal zijn, maar geef jezelf een proeftijd van minimaal een maand. Ook dan ben je uiteraard nooit geheel voorbereid op je leven als digital nomad, maar allicht een stuk wijzer.
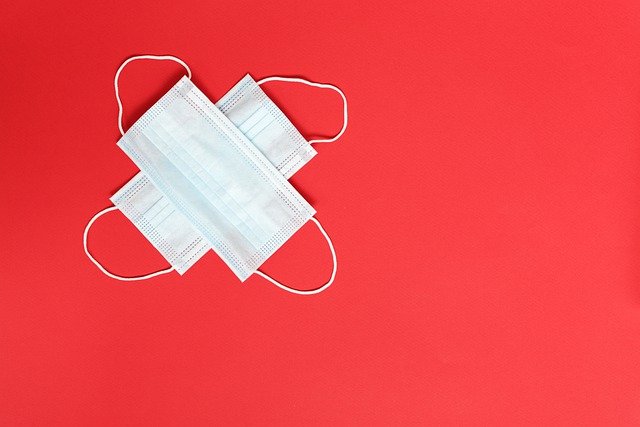
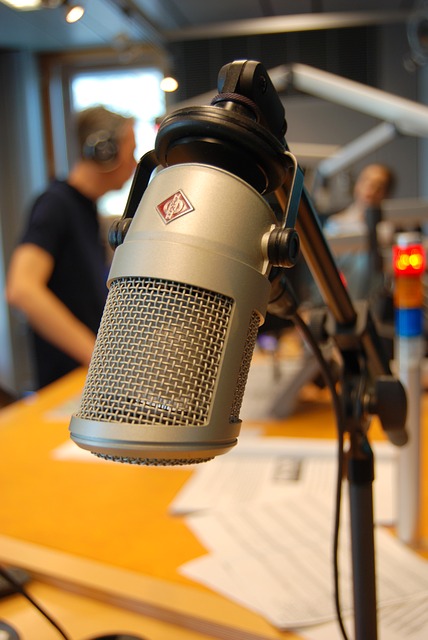
Muziekjournalistiek: een moeilijk beroep in deze tijden
De journalist die zich specialiseert in muziek heeft er de afgelopen pakweg 20 jaar veel concurrentie bij gekregen. Het internet, waar vele bloggers hun taken proberen over te nemen, was de eerste. Anno 2020 is er helemaal weinig te melden door de coronacrisis.
Geen festivals, geen verhalen
De Sprong van Eddie Vedder op Pinkpop, de moddergevechten tijdens de show van Arctic Monkeys op Lowlands? Even niet, dus. Het live-circuit ligt plat door corona, dus is er weinig werk voor de journalist die zijn liefhebberij graag met werk combineert. Het is een schop na voor een sector die al een beetje op de grond lag.
OOR is er gelukkig nog wel!
Maar in de tijd van streamen, bloggen en vloggen was het al enige tijd zo dat de opgeleide muziekjournalist er nog maar moeilijk tussen kwam, al zijn kennis ten spijt. Het internet heeft de gehele muziekwereld overhoop gegooid. Maar gelukkig is er één blad dat in ieder geval nog bestaat en in papieren content van hoog niveau voorziet: OOR. Wie weet overleeft het blad alles en wordt het lezen van print weer hip en happening. Sinds corona kun je immers niks meer voorspellen.
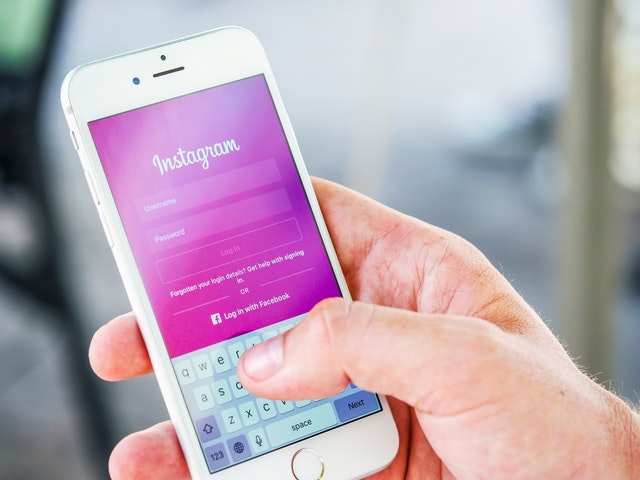
De aannemer en social media
Ook aannemers werken tegenwoordig met social media, ook al lijkt er weinig tijd voorhanden te zijn. Het is dan ook zaak op gezette tijdstippen iets te posten en niet op alle kanalen een account aan te maken. Facebook en/of Instagram is genoeg. Noodzakelijk is het echter niet.
Vindbaar zijn
De wereld van social media is er één van zelfpromotie en voor particulieren is dat een reden om allerlei onzin te posten. Het is voor een aannemer vooral zaak om vindbaar te zijn. Toch kun je bijvoorbeeld de resultaten van een geslaagde verbouwing delen op social media, zodat mensen een indruk van je werk krijgen. Een facebook- of Instagrampagina is daarvoor afdoende.
Extraatje
Daarnaast heb je je eigen website waar alle informatie op staat. Her en der een gesponsord blog(je) of advertentie om hoger te komen staan in Google wil wel eens helpen, bij een aannemer is het hoofdzakelijk de mond-tot-mond-reclame die de meeste klanten oplevert. Zie social media daarom als een extraatje. Wanneer je origineel uit de hoek komt met foto’s, teksten en filmpjes, kan je pagina wel populair worden. Maar hou daarbij wel in de gaten of dat nou echt invloed heeft op de klandizie.
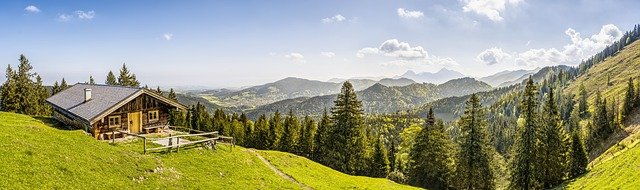
Een weekendje offline, neem het ervan!
Door alle schermpjes waar we de hele dag op zitten te koekeloeren, vergeten we bijna hoe mooi de wereld is. Alleen Europa biedt al zo veel mooie plekken. Om die echt op je in te laten werken, zou je voor een weekendje offline moeten kiezen. Onthaasting is onbetaalbaar, een weekendje weg niet.
Nadenken
Een stedentrip naar Rome, Berlijn of Praag. Zie het als het ultieme ont-stressende feestje en spreek met jezelf af: ‘wanneer ik van schiphol vertrek, ben ik een paar dagen niet bereikbaar. Dan ga ik genieten van al het moois dat ik zie en leg ik het vast met een fototoestel. Pas na het weekend zet ik de boel online’. Je zult zien dat het even moeilijk is zonder telefoon, maar je gaat er wel over nadenken na zo’n weekend: wat heb je nu eigenlijk gemist?
Je mist niks
Niet veel, zo zal blijken. Sinds je schiphol vertrek heeft je moeder gebeld om bij te kletsen, hebben wat mensen je selfie geliket en is er op twitter kabaal over een uitspraak van een voetbalanalist: allemaal zaken die kunnen wachten. Werkmail check je sowieso niet in het weekend. Wat blijft er dan over?
Ideeën om de verloren tijd van stroomstoringen te benutten
In de ICT kunnen we niet zonder elektriciteit, maar in een enkel geval wil er wel eens een stroomstoring optreden is er voor het bedrijf niks te doen. Hier een aantal ideeën om die tijd toch constructief in te vullen.
Werkruimtes en kantine opschonen
Is er nog sprake van daglicht, dan is het simpel: sommeer iedereen om zijn of haar bureau op te schonen. Alle overbodige rommel uit de laatjes, lege pennen weggooien, kruimels uit toetsenborden slaan, stofzuiger op de bureaustoelen zetten, enzovoorts. Pak gezamenlijk de andere ruimtes aan: ruim de koelkast in het keukentje op, verwissel eens een vuilniszak, breng alle gevonden kledingstukken naar de kringloop. Zo maak je van stroomstoringen en andere onverwachte werkonderbrekingen een aangename time-out.
Brainstormen
Samen de boel opruimen is goed voor de teamspirit en geeft goede zin om, al dan niet na stroomstoringen, weer fris aan het werk te gaan. Over teamspirit gesproken, je kunt de tijd ook invullen met een algemene brainstorm over de gang van zaken bij je bedrijf. Dan krijgen ideeën waar normaal gesproken nooit tijd voor is, eindelijk de ruimte. Dit kan ook tijdens een wandeling of lunch buiten de deur.

Handig met social media maar nog geen kantoor? Adverteer!
Als je je bedrijfje uit wilt breiden op het gebied van huisvesting/ruimte en personeel, denk je het eerste aan een nieuw pand voor een frisse start. Dit brengt naast de koop of huur kosten met zich mee. Vooral de aanleg van wifi en werkapparatuur zullen een kostenpost vormen. Misschien kun je een deal sluiten met een elektronicabedrijf? Je bent immers handig met social media!
Wat zij niet weten en jij wel
Bedrijven mogen dan een naam hebben opgebouwd in de omgeving, kaas van social media en marketing hebben ze vaak niet gegeten. Jij wel. Je kunt daarvan profiteren om een deal te sluiten: zij leveren apparatuur, jij maakt reclame voor het elektronicabedrijf op je socials. Zo komen duizenden bloggers en vloggers aan hun spullen, dus waarom jij niet?
Een groot bereik is goud waard voor bedrijven die hun producten willen tonen. En natuurlijk doe jij dit op een subtiele manier. Een foto van je nieuwe kantoor posten bijvoorbeeld, waarbij de nieuwe apparatuur goed te zien is – met naam of logo van het elektronicabedrijf dat de boel gesponsord heeft natuurlijk. Hou wel rekening met de regelgeving op het gebied van sluikreclame!